How to Use a Rolling Tool for Rolling Joints
If you think rolling tools are a gimmick, think again. They are very handy little tools that work great for rolling joints in a pinch! There is a slight trick to using them though and they look more complicated than they actually are. Read on for some quick tips on how to use a rolling tool correctly.
When I first heard about a joint rolling tool, I thought it was too good to be true. There’s really a machine that rolls joints for you?? I pictured a tiny machine that you simply dump your dry herb into and out pops a perfectly rolled joint. But sadly, that is not quite how a rolling tool works. It is a tool after all, not a magic trick. Don’t worry though, I tried out a rolling tool and learned a lot. And now I will share what I’ve learned with you!
What Is A Rolling Tool?
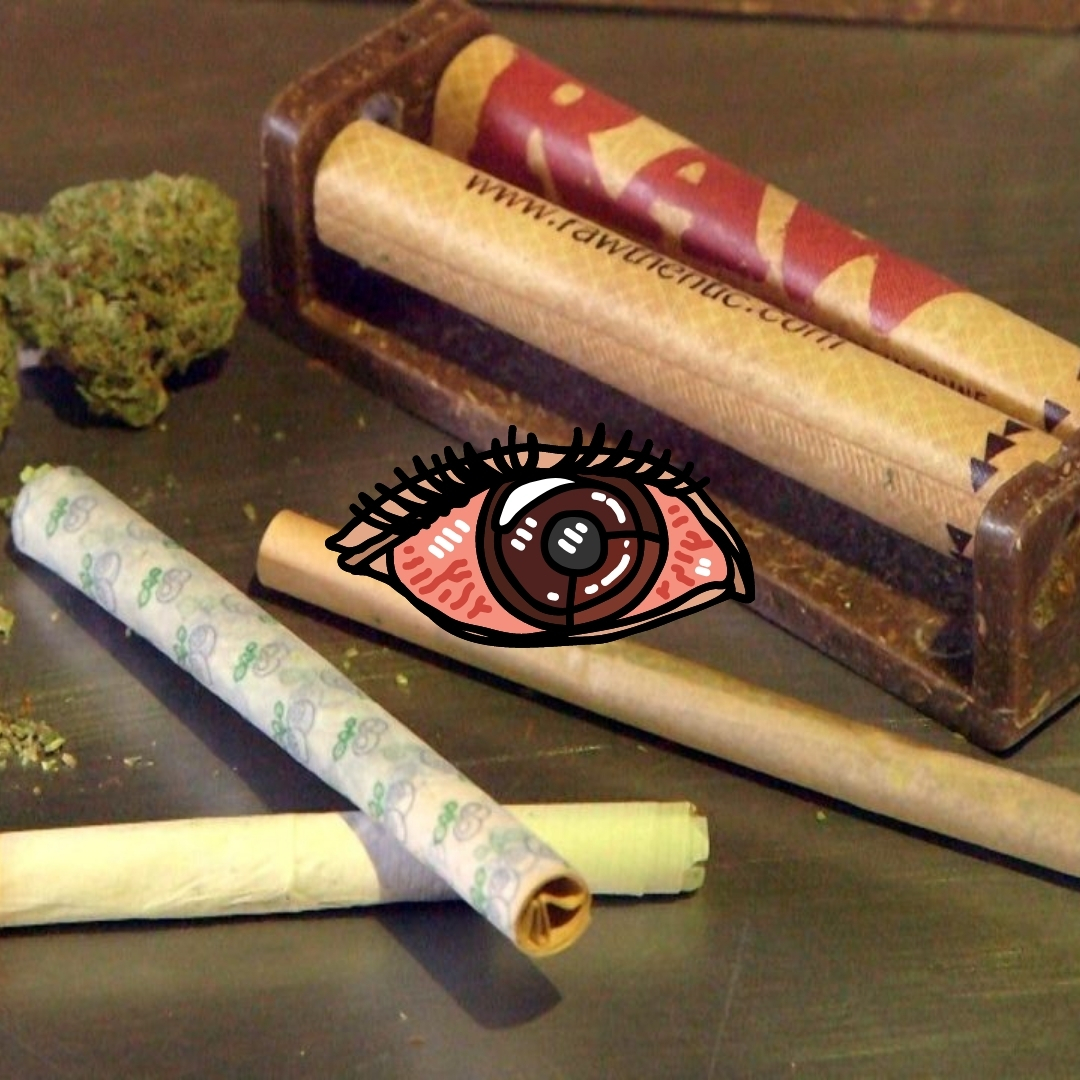
When I saw my first rolling tool, I was baffled by how to use it. You might be wondering the same thing if you’ve seen these plastic tools online or in your favorite smoke shop. They almost look like little mini laundry handwringers, but they are missing the crank. Although a joint roller is less intuitive to use than a laundry wringer, they are still fairly simple to use.
Most rolling tools are intended for rolling cigarettes but are also becoming well-known for making a perfect joint. Some of the most common rolling tools are made by brands like RAW, Zig-Zag, and Juicy Jay’s. All of these brands have a good relationship with dry herb and market their rolling tools to joint smokers too. However, no matter what brand the rolling tool is, they are made with similar materials and work in a very similar fashion. They do come in different sizes though to match the various size rolling papers available. If you want a rolling tool that is universal though, you might want to purchase a 110 mm size tool. This tool will fit king-sized papers and can be used for anything smaller than that as well.
How Do You Use a Rolling Tool?
Okay, so you’ve picked up your first rolling tool and now you are just staring at it in confusion? Well, the best place to start is by grinding up your favorite dry herb with an herb grinder. The best consistency for rolling is anywhere from a medium grind to a fine grind so that your joint burns smoothly. However, no matter what level of grinding you end up with, the rolling tool will make sure that you roll a smooth joint every time. Once you have your herb ground-up, then you can follow these simple steps:

1. Load Your Dry Herb
Even though it seems like loading your dry herb should come after loading your rolling paper, it is actually the opposite when using a rolling tool. You’ll want to move your rolling tool to the “open” position so that the plastic middle is extended like an herb hammock. Then load your finely-ground herb into the little hammock. Be sure to do this over a rolling tray or magazine so that you catch any overflow. You will also want to make sure that the dry herb is dispersed evenly across the tool so that you get an even roll. You can add a filter to one end of the herb pile if that’s something you prefer to have in your preroll too. If this is your first time using a rolling tool, it might be best to pack it on the fuller so that it is easier to use.
2. Roll the Joint
Next, move your rolling tool to the “closed” position, so that the herb hammock becomes more of an herb clutch or purse. Then roll the closed hammock towards you while pinching it slightly to keep it tight. This rolling action will work to tighten your ground herb into a tube, or joint, shape.
3. Load Your Paper
After your herb is rolled into the perfect joint shape, it’s time to add the rolling paper. This is probably the trickiest step to the entire process. You’ll need to make sure the gum-lined part of the paper is at the top and facing you. Then you will want to wedge the un-gummed side of the paper into the top of the closed rolling tool. Sometimes this can take some wiggling to get it just right. If you are using a rolling tool that is larger than your rolling paper, make sure the paper is centered over your herb and the filter is lined up with one end of the rolling paper.
4. Roll Again
Once you have your paper in position, use your rolling skills again to roll the paper into the tool and around your dry herb. Make sure you are rolling towards yourself and that you don’t roll past the gum line quite yet. Once you reach the gum line, give it a gentle lick. Then continue rolling the paper the rest of the way into the rolling tool, and a couple more times around for good measure.
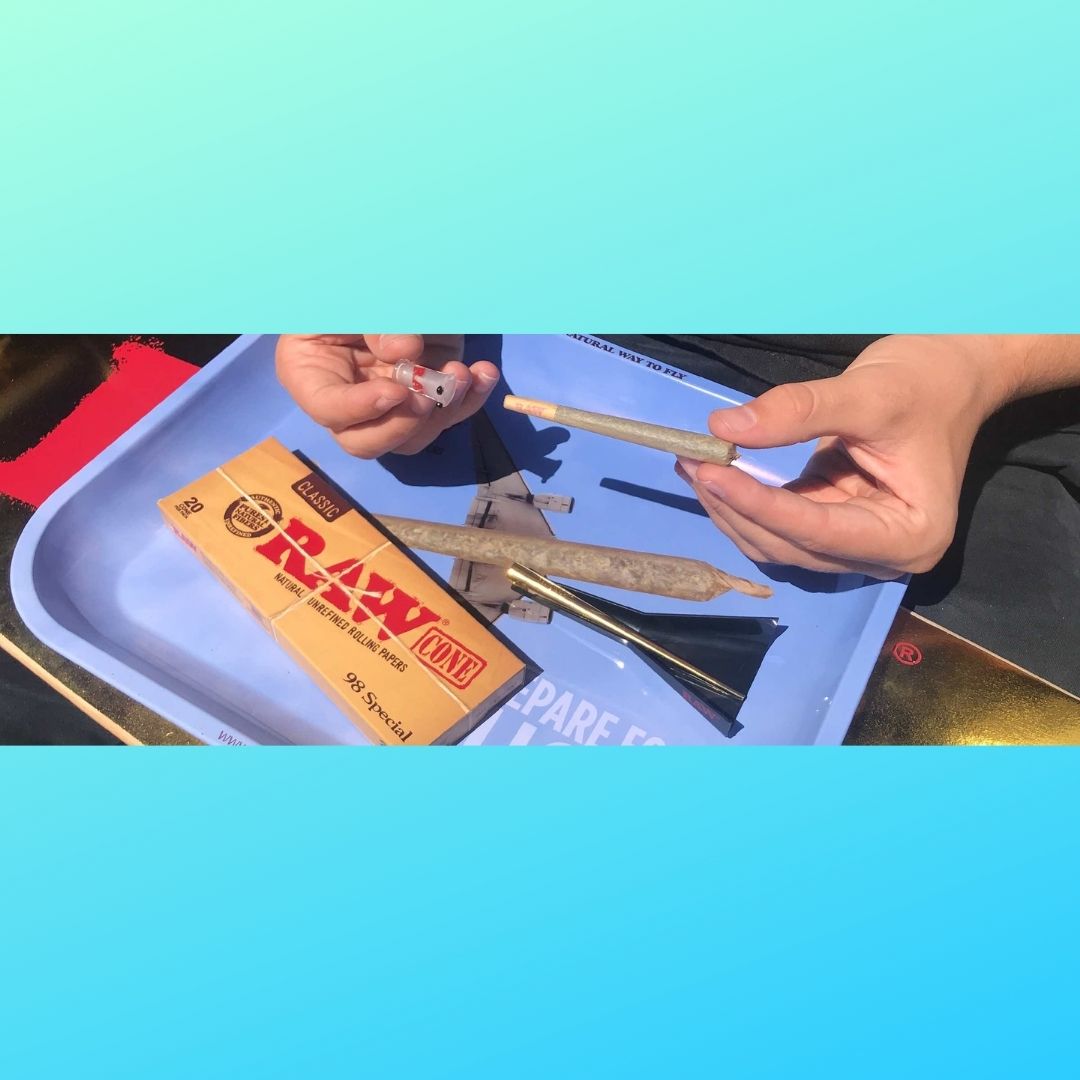
5. Enjoy the Roll
The final step to this process is to pop your nicely rolled joint out of the rolling tool. If you’re an overachiever like me, you can take the extra step to tamp down the open end of your joint and give it a twist to seal it. Now all you have to do is light it and enjoy smoking your perfectly rolled joint!
Every rolling tool may vary slightly when it comes to technique, but they all generally work the same. These handy tools normally cost around five dollars, which is a worthwhile investment if you enjoy smoking joints but don’t know how to roll them.
Related Blog Posts
How To Roll The Perfect Joint Every Time
Can You Vape Wax In A Desktop Vaporizer
Vape Cartridges How To Avoid Burnout
Blog Categories
- Home
- Industry News
- Vaporizer Reviews
- Dry Herb Vape Tutorials & FAQ
- Wax Pen Vape Tutorials & FAQ
- Oil Vape Pen Tutorials & FAQ
- Vaping Guides & Information
- Dabbing FAQ & Guides
- Smoking Pipe Tutorials
- NY Vape Shop Listicles
- Vape Pen Comparisons
- Vape Shop How To Articles
- Vape Shop Buyers Guide
- Vape Pen Basics
- Herb Grinder Reviews
- Dry Herb Vaporizer Reviews
- Oil Vape Pen Reviews
- Wax Pen Reviews
- Box Mod Vape Reviews